
Did you know turkey is healthy, high in lean protein and is leaner than most other meats?
It is also high in tryptophan which is an amino acid responsible for the production of our feel good hormone serotonin.
Choose whole turkey breast meat and mince over processed deli turkey meat for a healthy boost to your recipes.
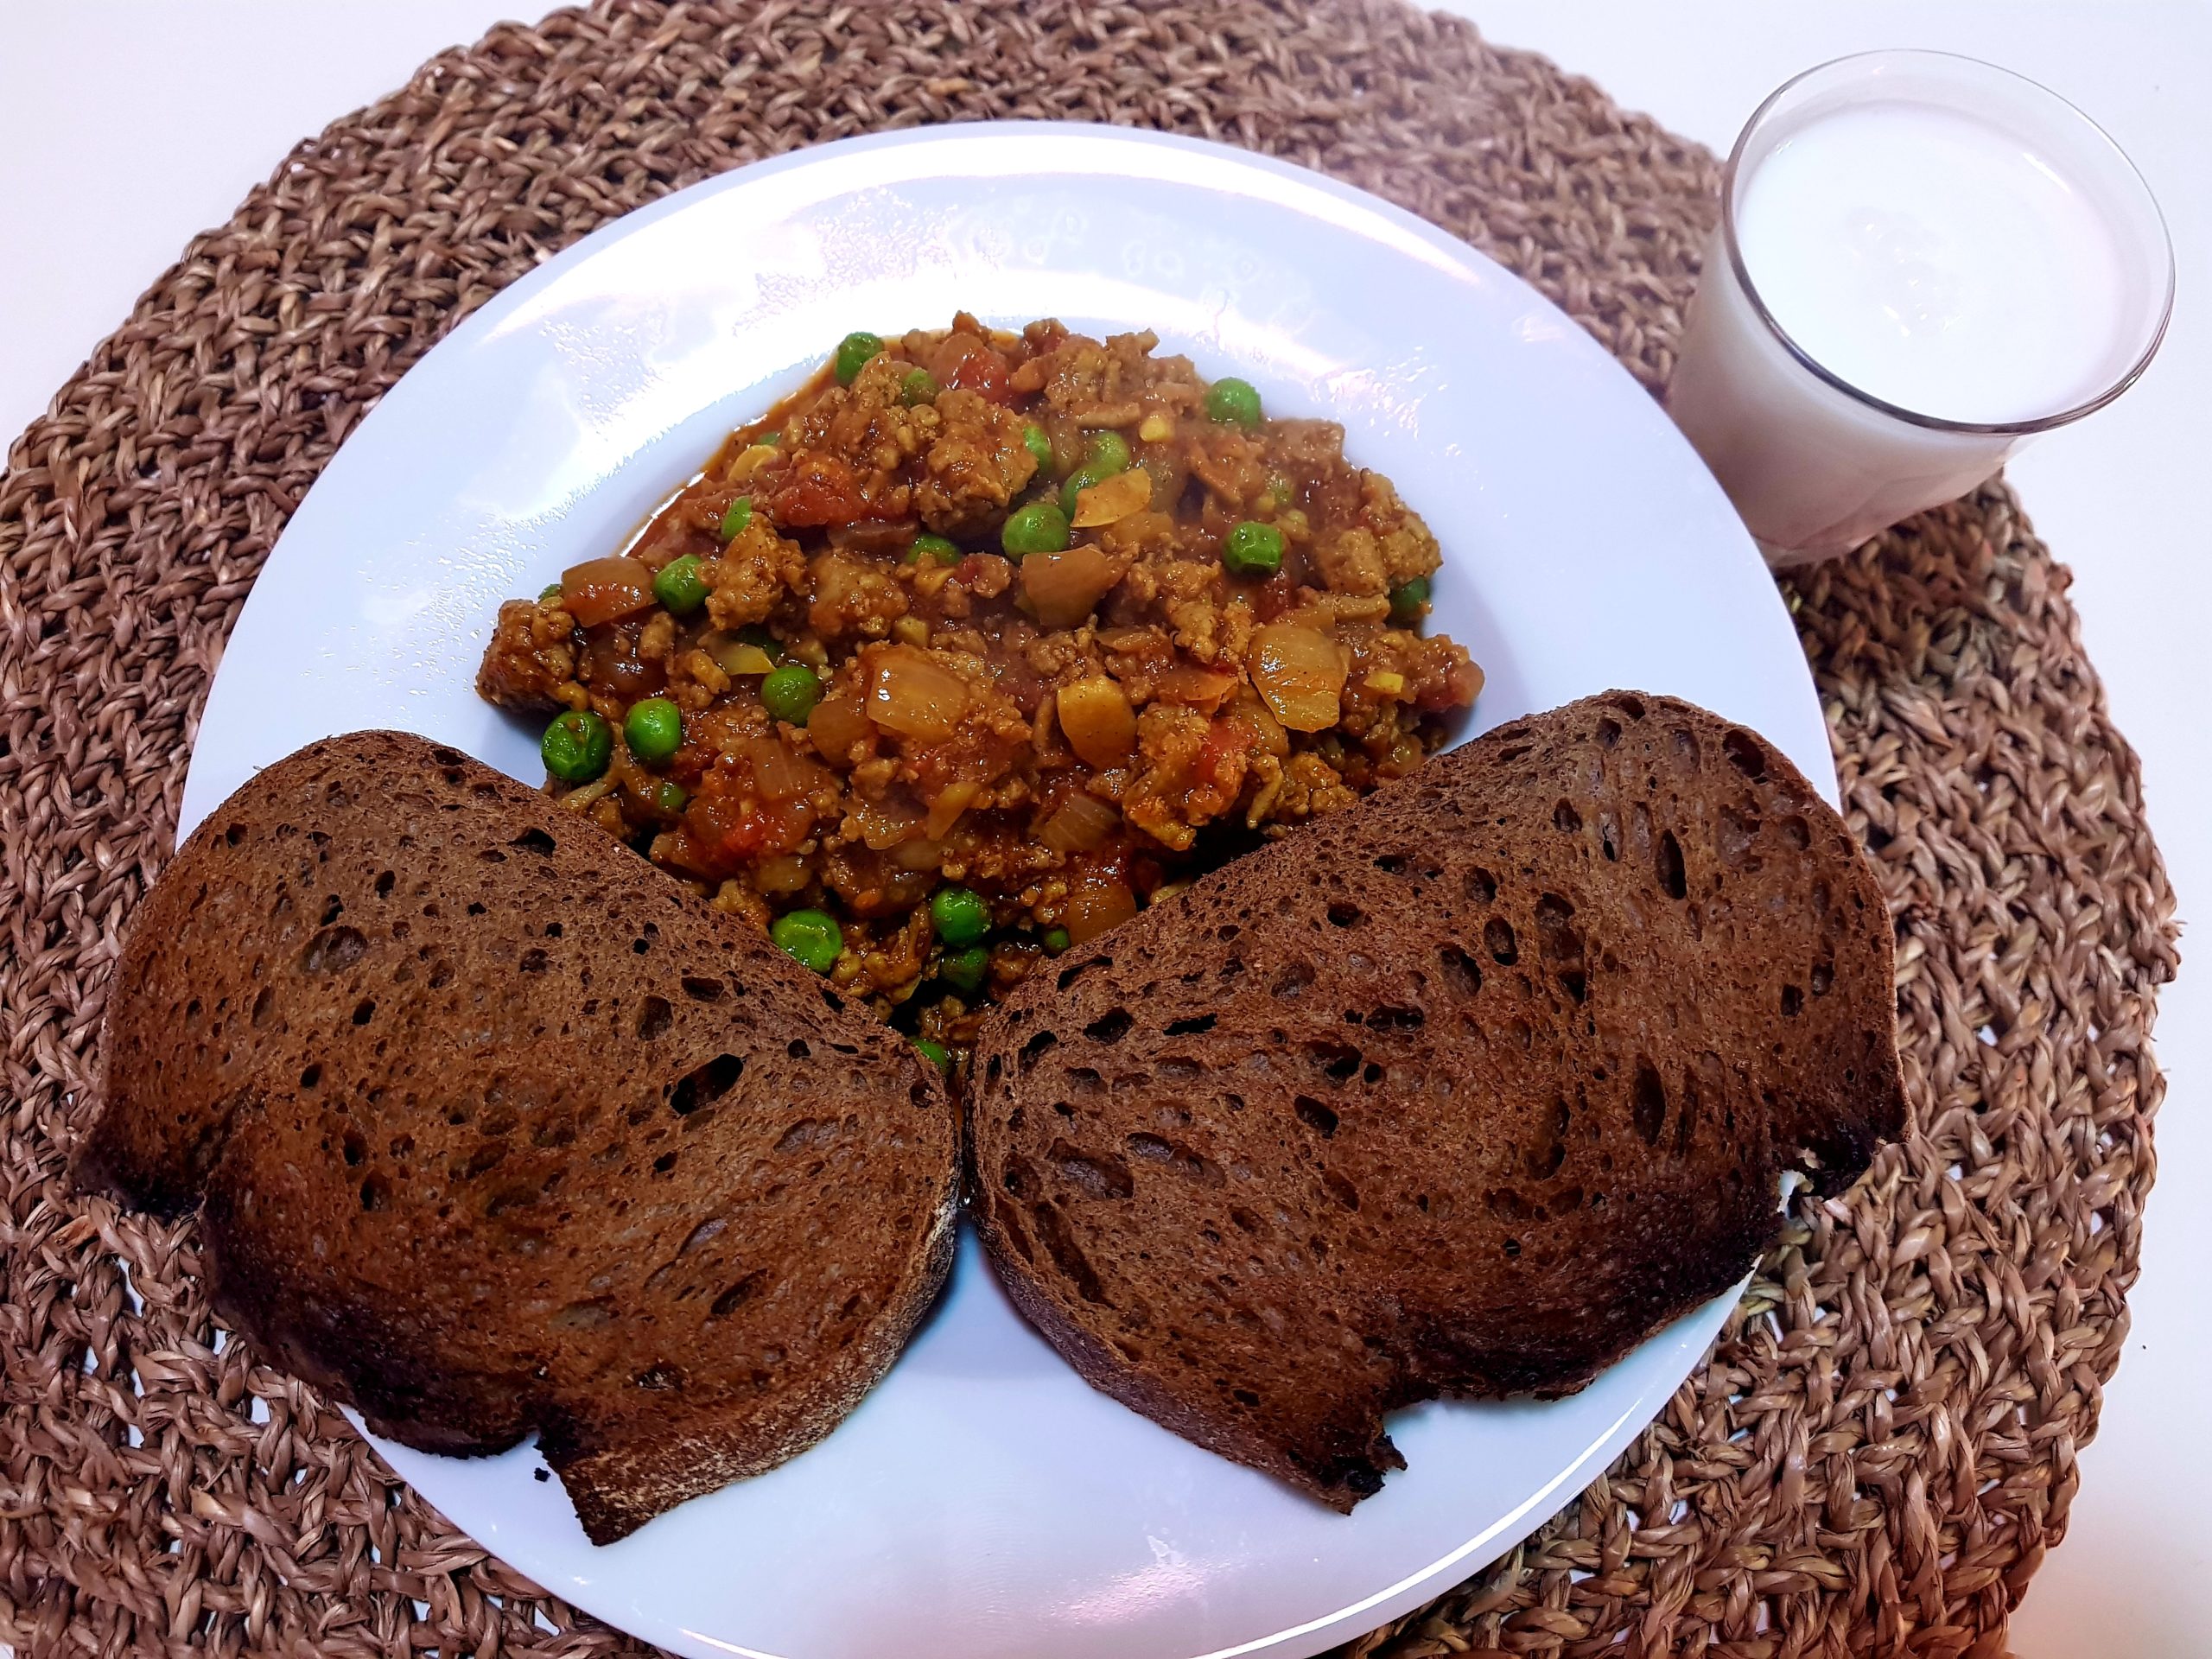
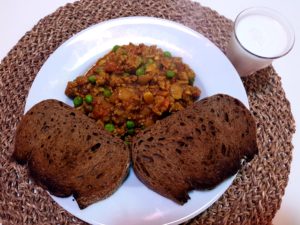
Healthy Kheema Curry
Cook time 25 minutes
Prep time: 5-10 minutes
Serves: 4
INGREDIENTS
1 tbsp good quality olive oil
3 cloves
4 garlic cloves, finely chopped
1 tsp ground coriander
½ tsp turmeric
¼ tsp red chili powder or 1/8 tsp cayenne pepper
1 can organic crushed tomatoes
1 ½ tsp Celtic/Himalayan salt
500g turkey mince
1 tsp cumin seeds
1 cinnamon stick
1 medium onion, finely chopped
1 ½ tbsp. ginger, grated
1 tsp ground cumin
½ cup water
1 tsp garam masala
½ cup frozen peas
½ large lemon juice
METHOD
In a large saucepan, heat olive oil over medium to high heat.
Add the cumin seeds, cloves and cinnamon stick.
Continuously stir spiced until fragrant (about ½ minute).
Add the onion, ginger, garlic and salt.
Cook until onion is soft (about 5 minutes)
Add turkey mince and stir and cook until the meat is browned and cooked through.
Add cumin, coriander, turmeric, chili powder, tomatoes and water.
Turn the stove to high and bring the mixture to the boil, cover and reduce heat to low.
Simmer for 10 minutes.
Add the garam masala, peas and the lemon juice.
Cook until peas are just thawed (don’t overcook them as you want some texture).
Remove cloves and cinnamon stick before serving.
Top with coriander leaves for decoration and serve with a side of unsweetened kefir or place into airtight containers and refrigerate for lunches for the week.
Enjoy this healthy and delightful herb and spice rich dish hot or cold.

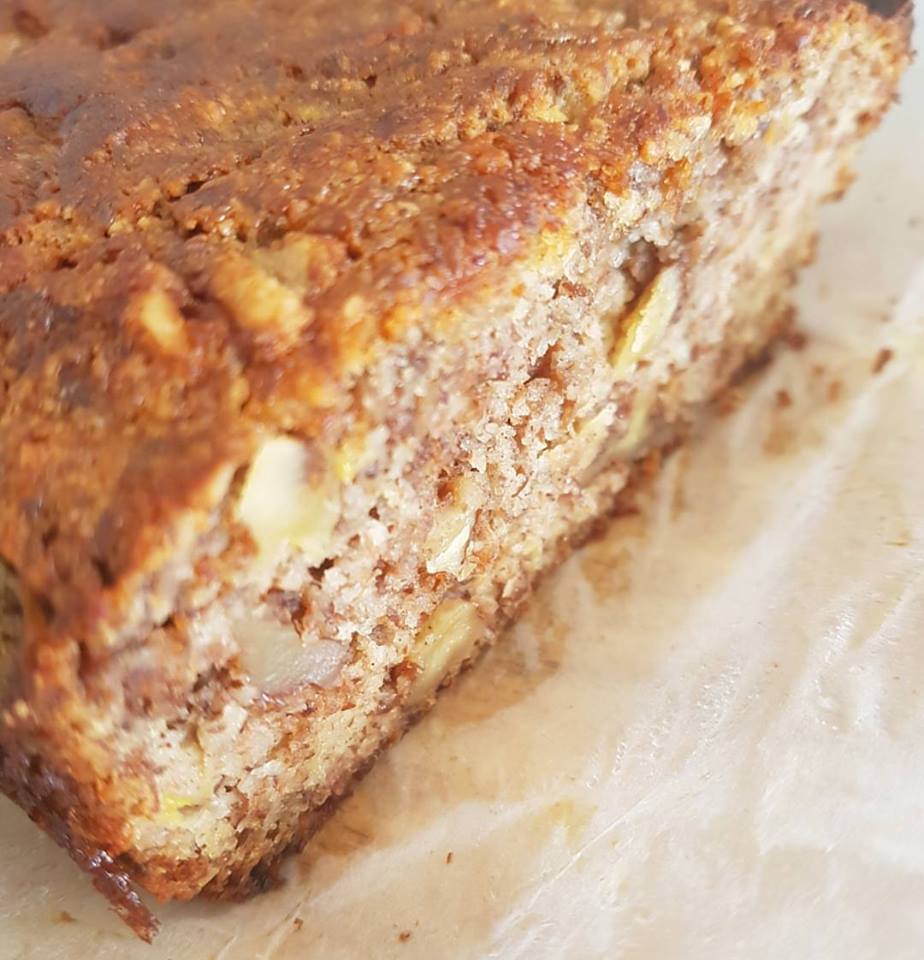
 180 degrees fan forced. Oil a loaf pan.
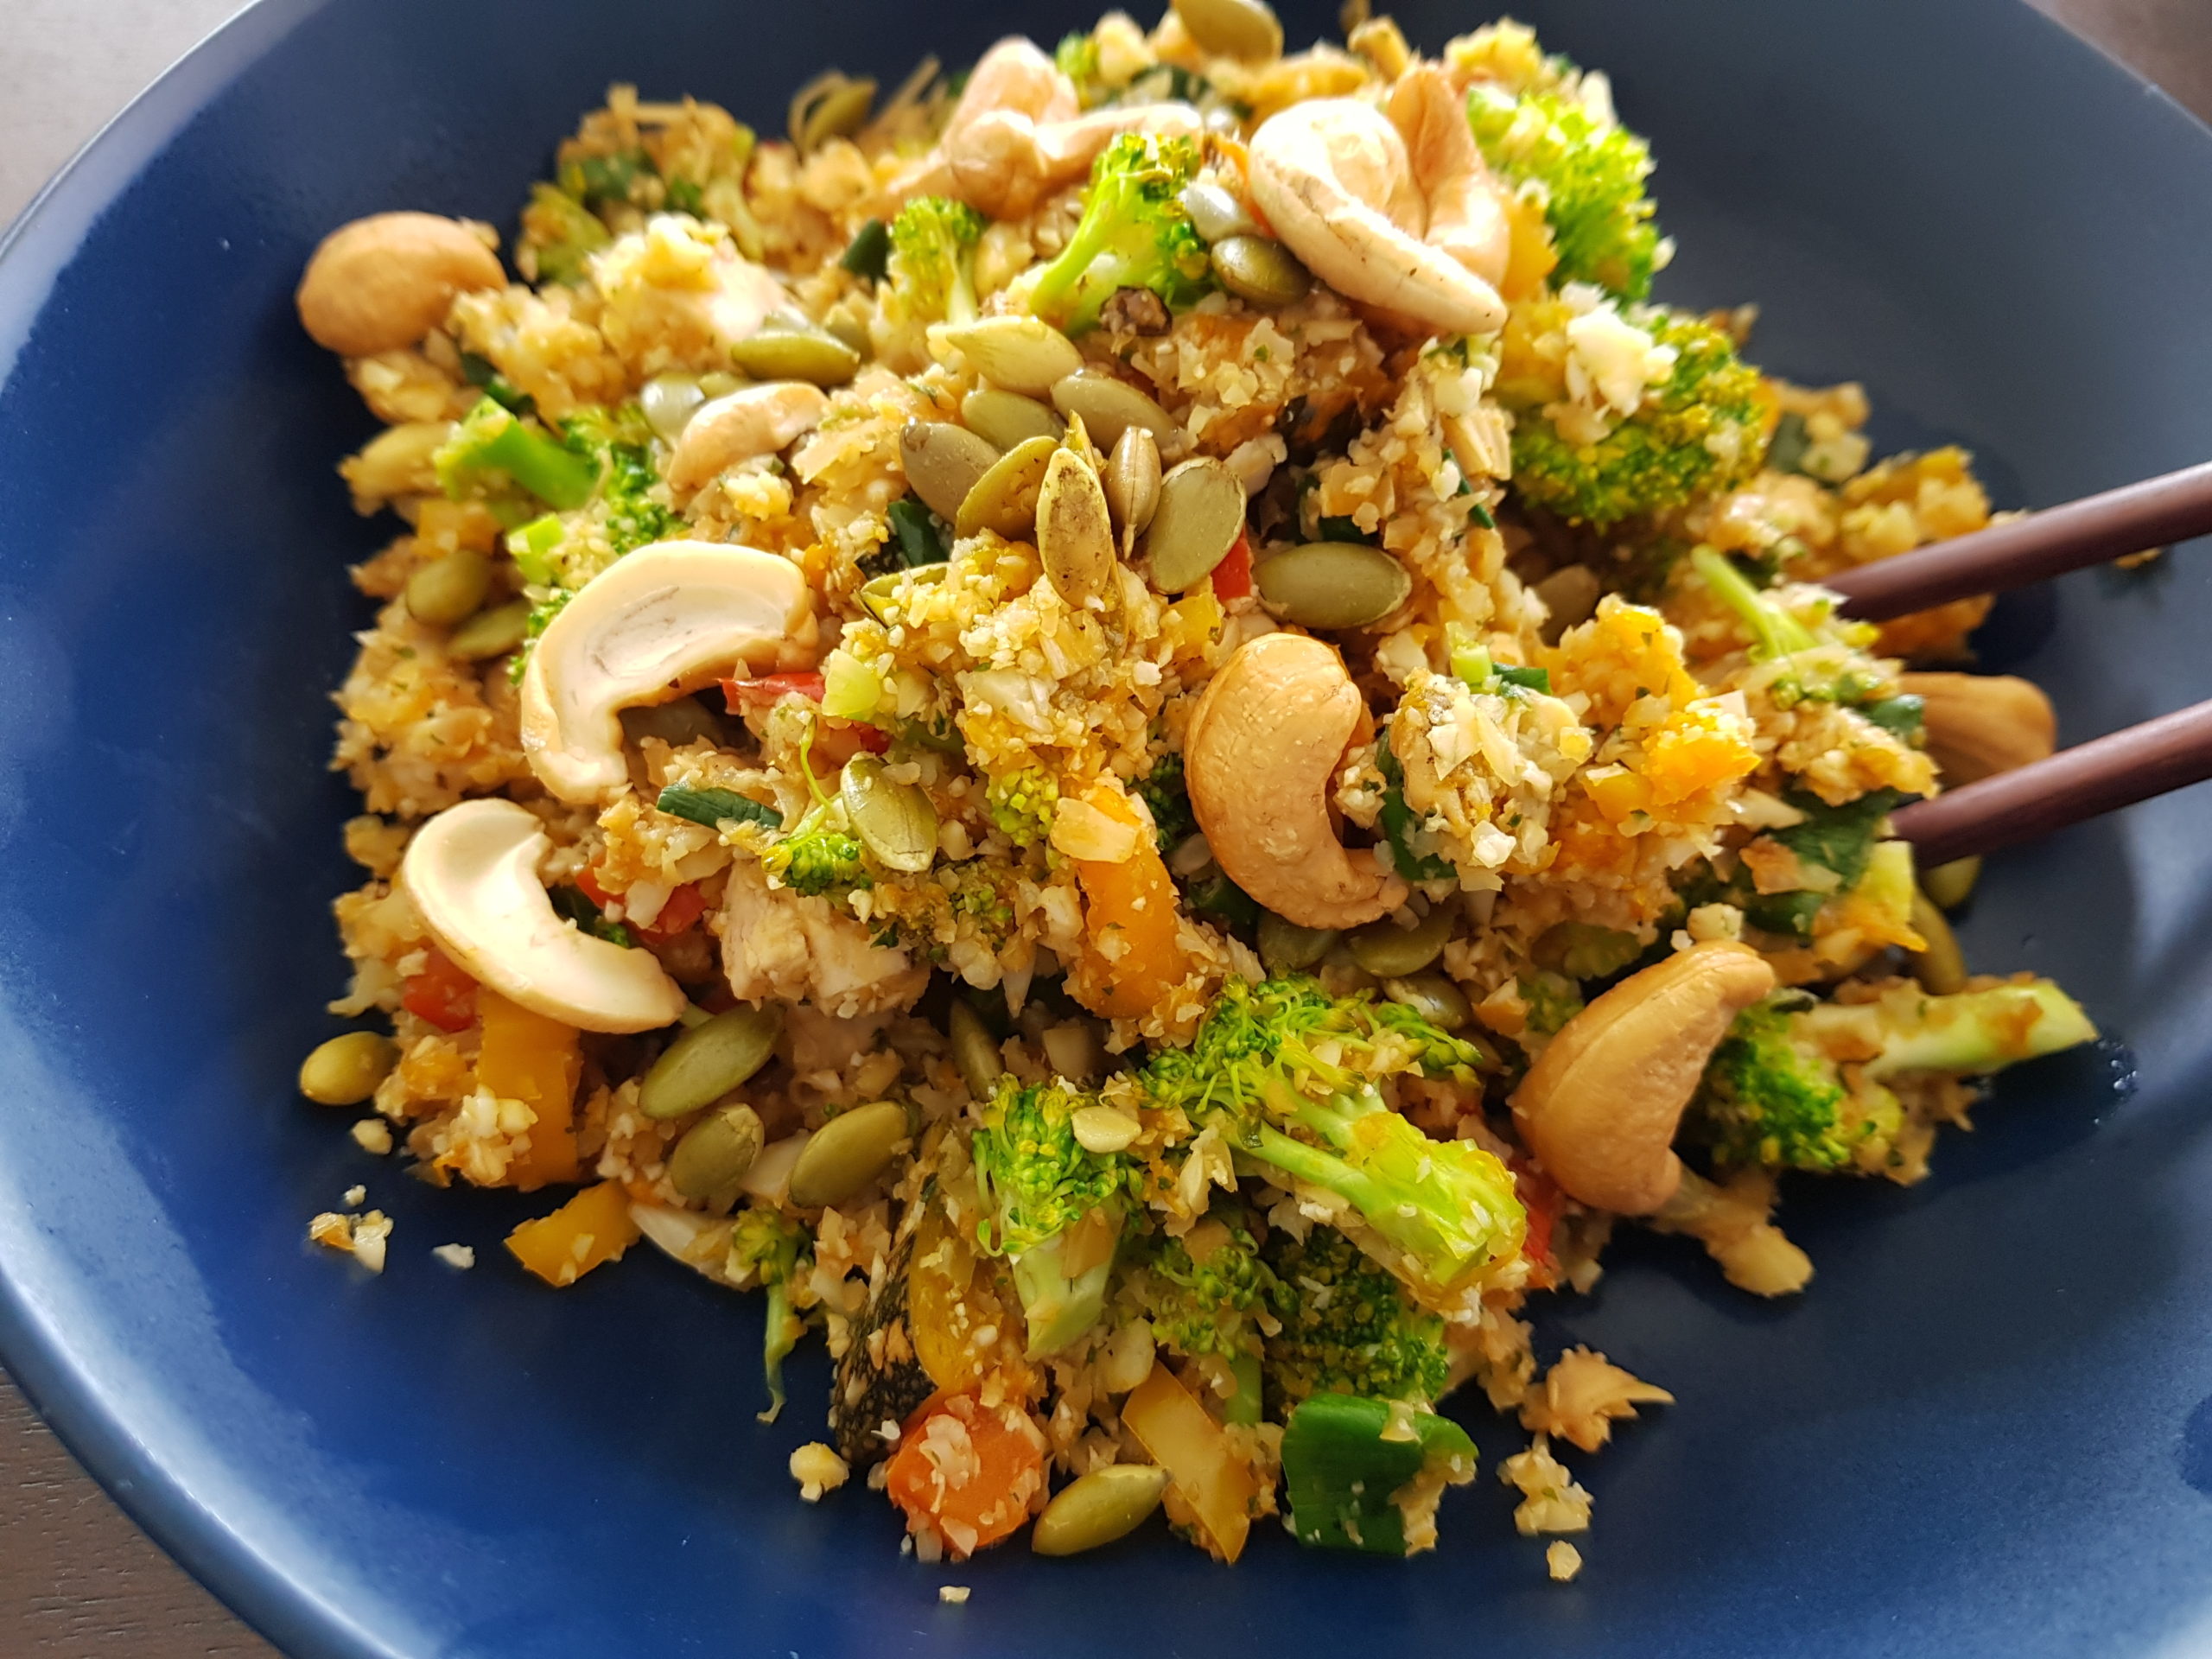

 psicum, mushrooms into a wok with 2 tbsp